Monday 22 June 2015

Reflection Photography-an adventure with puddles!


Reflection Photography


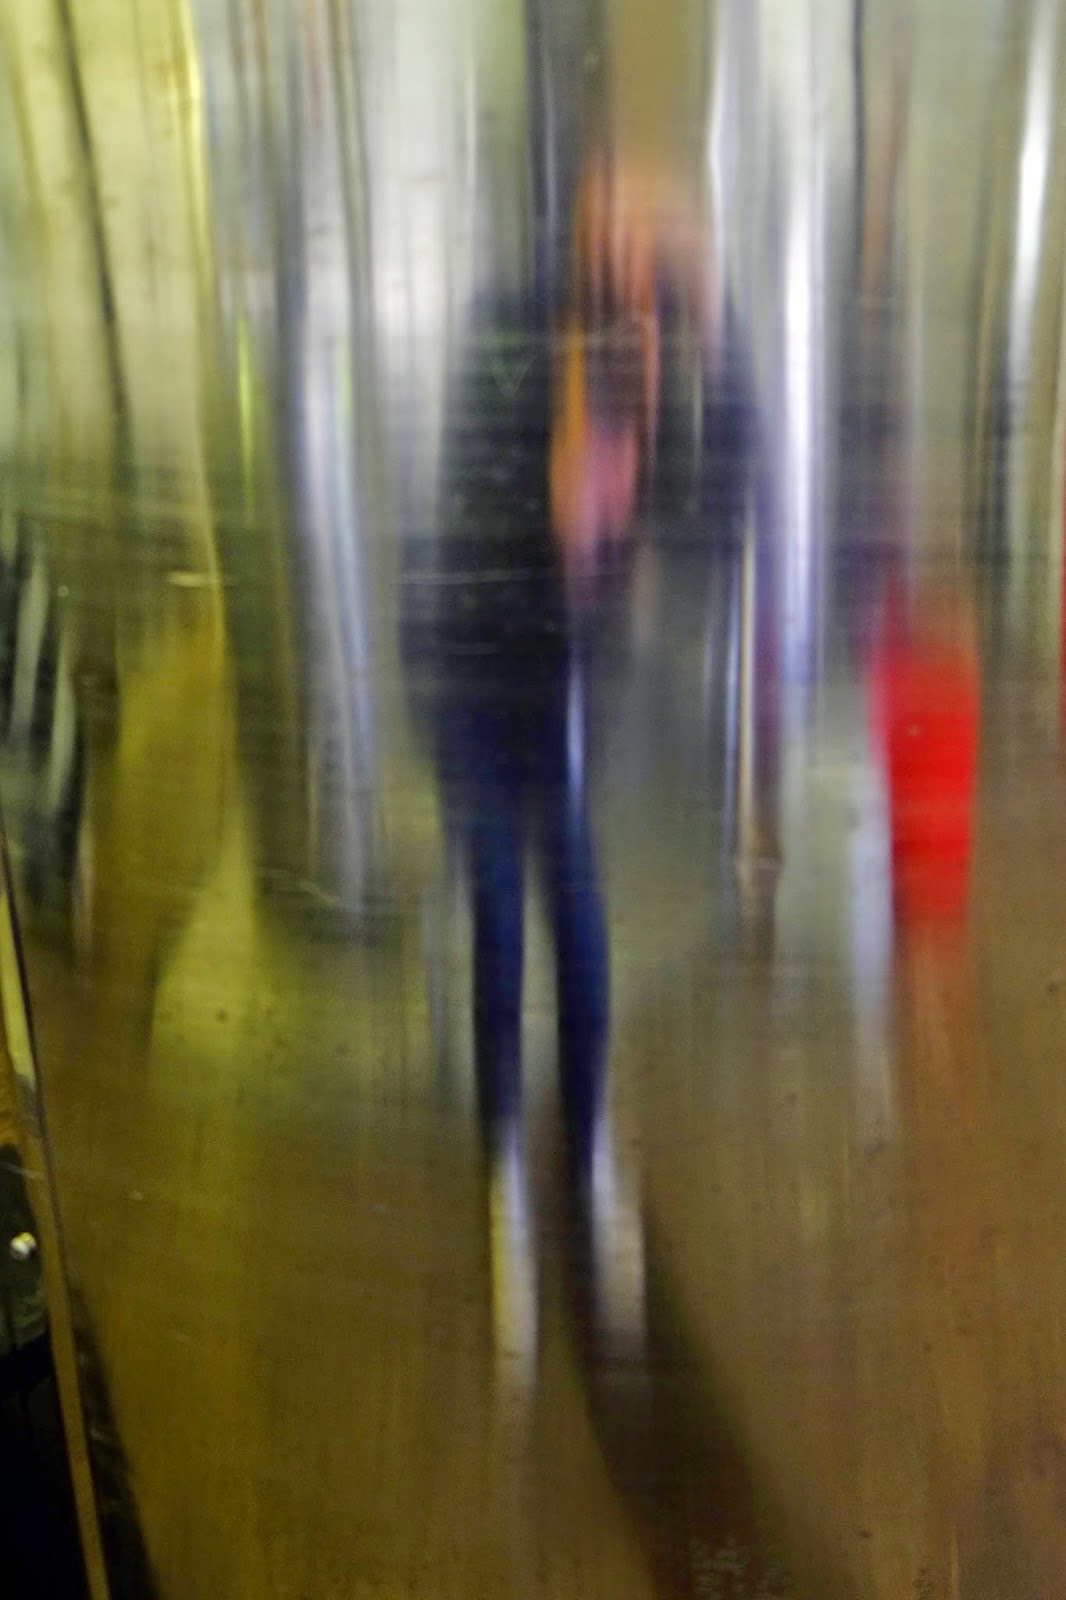
Green Umbrella


Last year I was attending a weekly photography course when I embarked on a project of my choice. I had never given myself a 'photography project' before. I tended to take pictures of subjects I liked-mainly wildlife up to this point. I had never thought about shooting the same sort of themes over a few weeks or months that were all in some way connected. For ages I had been seeing a reflection on the street I work on in Edinburgh. Every time it rained a hollow in the the pavement would swell up with water and show a great domed rooftop in it's reflection-something that made me keep thinking-'I need to take a photo of that'

Royal Edinburgh Society 


Sometimes it can be hard to decide what kind of topic to pick . It needs to be original, keep you interested and not be twee. You might want to ask yourself what you hope to achieve from completing the project and also what you want to learn. A good starting point can also hold your attention for a longer time-although I took this picture over a year ago, I still walk past it now. and look to see how it changes at different times of then day, depending on the light.

Through the Looking Glass


            So I had decided on reflections. What now? My main interest was in puddles I became obsessed (and still am). While other people complained about the wet weather- I was checking the forecast-hoping it would rain on my day off so I could go out and try and find some interesting reflections to capture! On the days where it was dry and sunny I                     would turn my interest to glass. I particularly liked this shot. It felt slightly                                                    surreal and had a little of the Renee Magritte about it. 


Leith Reflections 1


When trying to capture reflections in water it's also important to wait until there is little wind and your reflected image is clear and reasonably sharp. Obviously this might not always be the desired effect if you want to show the way water can distort the images reflected.
With the pictures of Leith I took another more cropped image and then turned it upside down to show pretty much the same scene but only the way it was presented in the water. This can almost make the images look like paintings.  


Runner

    During the project the were some images that were very considered. A few of the images I had passed by many times and I had a strong idea about how I wanted to capture them. Other images were taken by complete chance like the one of the runner caught in this enormous puddle. Other images were taking using zone focusing -that is focusing your lens on a particular area and waiting for something or someone to come into the frame. 
This is how I managed to get the image at the top of the post of a shopper with a green umbrella caught in the reflection of a wet pavement. 

House and Post

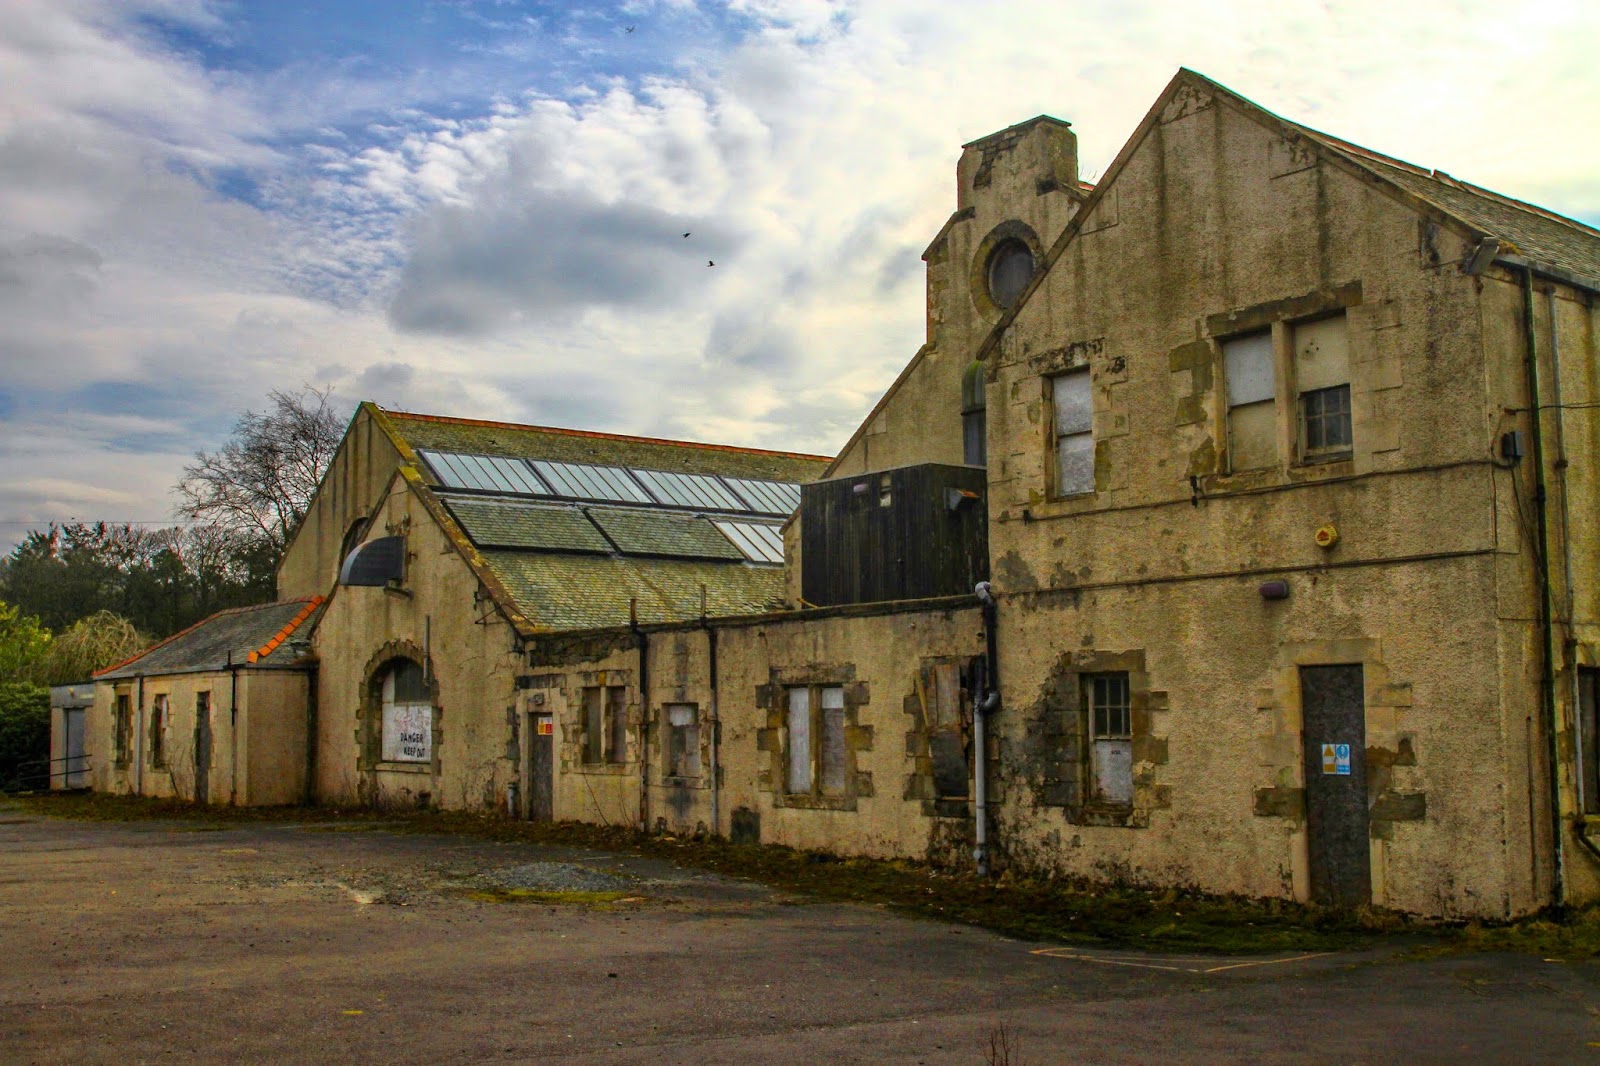
         You may also come across things that look ordinary at first but when captured in a reflection can look very different. The house and post picture is of the gable end of a house caught in a puddle but flipped to make it upright, but the grid for the drain is now round the wrong way. The composition may look slightly straight forward at first until you look at it more closely. The other thing I have learnt from this project is to not care about those around you. Some people will be genuinely interested in what you are doing, but if it's taking pictures of random things in puddles be prepared for some awkward glances! Don't let it concern you-just be immersed in what you are doing. 


I had great fun with this project. I managed to get some shots that I had wanted to take for ages and also some surprise ones too. Deciding to take a series of photos for a certain reason can be a really rewarding thing to do. It may be something you have been thinking about for a while. or an idea may just hit you one day. Here are a few ideas to get you started!


Rainy Junction


Monday 11 May 2015

Self Portraits-how I take a selfie


Self Portraits-My Kinda Selfie!


National Museum Of Scotland 


Last year I did a project on reflection photography. This came about due to a reflection in a  puddle I saw every time it rained in the street I work in. This is the kind of stuff that fascinates me, and the way that water or glass can distort an image became a complete obsession. More about those pictures at a later date-the self portraits in today's blog came about as I hunted Edinburgh for reflections for my project. In 2013 the word 'selfie' officially entered the Oxford Dictionary, but photographic self portraits-the act of taking a photo of ones self-have been around for many years. Photographers have been posing for their own cameras since the invention of the photographic process in 1839. 

Early Self Portraits

Man Ray was a prominent figure in the Dada and Surrealist movement and worked in many media including photography. The picture below was created through a technique called solarization where the print was exposed to a quick flash of light in the darkroom creating the eerie halo effect on the finished image. 


Man Ray 1931


Another photographer that comes to mind when thinking about self portraits would be Vivian Maier. A very private and reclusive woman during her life time, Maier was only recently discovered when American John Maloof found her undeveloped films at a garage sale in Chicago.  Prolific in making images, Maier's self portraits are staggering and original-something that can be at times very hard to achieve


Vivian Maier Self Portrait 
                                                       Vivian Maier Self Portrait

Maier made use of whatever she had in front of her-windows, mirrors, hubcaps, bowling balls, and would often capture something else in her picture-not just her own image. By day she was a nanny and would trail the streets of Chicago with the children she cared for, taking pictures with her Rolleiflex camera. 
A deeply secretive person, most of her work was produced in the 50's where Maier recorded her own urban history. She had an affiliation toward the poor and destitute and struggled to get by herself towards the end of her life. Not able to pay for processing costs, the vast majority of her work was never processed during her lifetime. Vivian passed away still unknown, in a nursing home after having a fall.  


Back to my own self-portraits....

When looking for a reflection to take a picture in, I try to look at what's going on around me, what other subjects might be included in the photograph, and if I want to make my self obvious in it or not-is the main subject me, or am I just taking a reflected scene that I'm accidentally in.


                                                       Rainy Day Self Portrait 


Self portraits don't always have to be a reflection. A shadow can also work depending on what direction the sun is facing, and what other 'props' you may have at your disposal-see Maier's shadow portrait above. 


                                                                                   Shadow Self Portrait


Shooting self portraits can pose endless opportunities, ranging from ideas you may encounter everyday to those that present themselves when you least expect it 
Thinking outside the box is vital-what else do you want to include-is there something else in the frame that should be the main feature? Can you still draw attention to it in a more subtle way such as this Nastia Sokolova shot below.

                                        
Selfportrait with Eiffel by Nastia Sokolova on 500px 
                                                                           Nastia Sokolova 
                                                                             Self Portrait 


Taking your self portrait with a self-timer can also lead to a great shot and allows you to plan, set up and execute the shot in your own time scale and environment. However, the candid shots are still my favourite. Even if you don't have your camera on you, a camera phone pic will still capture a moment that you may not have again. 
Enjoy those selfies!


Tube  Self  Portrait


Metallic Self Portrait  


                                           Find more self portrait inspiration here-http://www.popphoto.com/how-to/2014/03/beyond-selfie-how-photographers-take-self-portraits


Tuesday 31 March 2015

Bangour Village Hospital


Bangour Village Hospital-photographing abandoned places 


The Shop

The History 

 One of my many geeky passions is that of abandoned sites. Houses, churches, bus depots, anything that is crumbling or standing still in time fascinates me. To think of these buildings once bustling with people and serving a purpose is really intriguing. One of my favourite places to visit is Bangour Village Hospital, a 220 acre site just outside the village of Dechmont in West Lothian.

The hospital was opened in 1904 as one of the first village -plan psychiatric hospitals in Scotland, an idea that was brought over form Germany. The site included a shop, recreational hall, workshops, cricket pitch and later a church which patients themselves helped to build. Patients were homed in villa style buildings which could accommodate around 30 at a time.

Outside the 'Day Centre'
                                                                       
The hospital was taken over by the War Office during the First World War and treated the many hundreds of wounded while the mentally ill were displaced to asylums around Scotland. The hospital returned to it's original use  between the war years and after 1945. Over it's time, buildings were added to the original site, one of them becoming Bangour General Hospital which offered general services to the whole of West Lothian. A world famous burns unit,  plastic surgery unit and maternity ward were also added. I have quite a few friends who were born here.                                                                           
                                                                          

                                                  Taking Pictures


Lock 
Taking pictures at Bangour does not pose as much of an issue as you may think it would. Although I must stress there is NO access to the buildings-they are in very poor condition and are extremely dangerous. Security patrols the site at all times as there are many who will try and gain access to 'ghost hunt' or steal anything of worth left in the buildings. However, the site is open to the public to walk round freely and on any given Sunday Bangour can be pretty busy with families and dog walkers out for the afternoon. 

Football Pavilion 

Every time I visit Bangour it's overcast. It can
feel like quite a bleak place but is extremely atmospheric. There is not much colour in the buildings and it can be quite difficult to get good contrasts. A grey graduated filter may be useful for some shots, but I choose to shoot mostly in black and white when I'm there. Colour can be nice when you are trying to capture some sort of decay like in the shot above of the lock. 


Church 

A lot of the buildings are white and I found this tricky trying to get the correct exposure to show and detail of wood or brick work. The picture above of the football pavilion was shot at ISO 100, 5.6 app, 1/640 shutter speed. I've brought the contrast and the highlights up every so slightly but apart form that its pretty much straight out the camera-one of my favourite shots of the day. There is something new to be found with every corner you turn or with every new building you encounter.


One of the villa's 

Walking around Bangour can feel a little creepy. You can often still find objects belonging to one of the wards or even a patient- I have passed the same flattened pram every time I have been. But before our imaginations run away with us it is important to remember that Bangour was a real place which treated thousands of patients through the years with a mixture of therapies and which also gave patients opportunities to work in the grounds, in the various workshops or in the nearby farm. Having had the pleasure of listening to the stories of people who have worked here it seemed to be a happy place that was full of life. 


Villa 
After the opening of St Johns Hospital in nearby Livingston in 1989 the General Hospital at Bangour was closed and eventually demolished. With different treatments for mental health becoming available and a greater emphasis put on 'care in the community' Bangour began to wind down with the last patients being discharged in 2004. The following year it was the filming location for the film 'The Jacket' staring Keira Knightley,


                                                   The Future


Laundry 
Currently there are plans to re-develop the site into a thriving new community. Although a Conservation Area which boasts many listed buildings there has been discussions of both housing and retail developers going into the site. The listed buildings would be re-used as homes, while there will be new buildings added. Historic Scotland are working with both the NHS and West Lothian Council to produce plans which should be released later in the year.


Villa


Window 
Although many will be relieved to see the site redeveloped, I can't help but think it will be a great pity to see this incredible place go. As a photographic opportunity it is a gift no matter what you are into-landscape, documentary, abstract- and is accessible while still feeling almost forbidden. Although it can be a challenge to photograph such a place I would urge anyone who has not yet visited and who lives close by to go there with your camera and record as much as you can while you still can. You wont regret it.

                                                   Click here for an aerial tour- Bangour Aerial Tour

                                                   Until next time.....


Bus Stop


Sunday 22 March 2015

THE BIGGER PICTURE


THE BIRDS AND THE BEES-WHERE IT ALL BEGAN-SHOOTING WILDLIFE


Small Tortoiseshell


To those of you who know me personally-you will be aware that I love animals and am wildlife crazy. From ladybirds to red kites and butterflies to badgers I get over excited about wildlife of any kind. It was this love that first drove me to purchase my first camera, a Canon 550d with a Tamron 70-300mm zoom for shooting what I wanted to shoot most.  


I remember being initially disappointed having graduated from a bridge camera with a very strong optical zoom. I was taking pictures of the birds in my garden-but I wanted to be closer. My lens just wouldn't make things BIG enough for me. I remember naively going back to Jessops grumbling about my kit and the assistant assuring me that I could get great results from what I had. I Googled images taken with my kit. The issue it appeared was me.

                      
Tufted Duck
I think one of the main frustrations when you are new to photography is that you want to know everything yesterday. You want to create perfect images quickly and are baffled as to how others seem to do it so effortlessly. I soon began to realise that it really is trial and error. You can study photography books all day, have ready made tables set out for what settings are best for different situations and drool over lenses you can't really afford but nothing will get you to where you want to be unless you get out there and practice. That said there are some brilliant YouTube tutorials out there that are really informative. I used to (and still sometimes do) take a notebook out with me to write down anything I learnt on an outing, whether it'd be positive or negative. Obviously you can make use of your cameras histogram but I'm a bit of an old fashioned girl and love a bit of pen and paper.   

Now, back to the wildlife......


Coming into Land 

When I started getting into photography about a couple a years ago I was quite determined to do everything 'properly'. Straight out the box I switched my camera onto manual thinking this would be the best way to learn. I kid you not it was quite a while until I realised what aperture and shutter priority were. I only used manual focusing and all the pictures on the blog today are taken completely on manual settings. By no means are these 
perfect pictures-they are not tac sharp and in some cases lack some detail but they are just a little example of making the most of what you have at your disposal. The Tamron 70-300mm has a good macro function on it if you are into insects or flora. I've also been reading recently that if you mount your bog standard 18-55mm kit lens back to front this can make quite a reasonable macro lens and some of the results I've seen have been great. This is something I've yet to try but will keep you posted!


Red Squirel
How we all take images is completely a personal choice and as photographers, be it complete beginner or pro, we are constantly discovering new things. For me, shooting wildlife is challenging enough so why make it more difficult by manually focusing everything? We often have a split second to capture a fast moving or elusive creature so we need to have as much on our side as possible. Higher shutter speeds are preferable to try and freeze the action therefore it will be necessary to push the ISO up to compensate for this. Before you start, get to know your camera's limits. How high can you push your ISO to achieve acceptable results? How low can your shutter speed go until objects become blurred? A good rule of thumb for this in day to day shooting is using your focal distance as a guide. If you're shooting at 300mm then your shutter speed for hand held shooting shouldn't be set below 1/300. For wildlife  you will more than likely be using a higher setting than this to capture your image. It also helps if you know the behaviour of your subject. Is it a diving duck that's about to dip in or out of the water? Be ready for that classic behaviour you're trying to capture.


Whopper Swans

Another obsession with wildlife photography is to get as close to your subject as possible. This seems like something you should be focusing on but it can be nice to take in the environment of your subject and not make it too detached. Using a wider angle to show the habitat of what you're shooting is also important. A lot of the time the environment you are shooting in can be just as beautiful as the animal you are photographing. 

Final words of wisdom - be patient. With your subject and with your equipment. We are all limited no matter what kind of kit we have, but try to get to know not just its limits but also its potential.

Until next time......


<a href="http://www.bloglovin.com/blog/13886121/?claim=smqvx4anwcq">Follow my blog with Bloglovin</a>


Wednesday 11 March 2015

London Baby!


THE BIGGER PICTURE


March 11th -London Baby!


Soho Lights
Going Up 

Street

I was in London for a couple of days at the weekend and was         really excited about the photographic opportunities that this would hopefully throw up. As someone who is quite new to street photography I have yet to develop the bold skills some of my photography friends have of stopping subjects on the street to ask for a picture, or getting up really close to an unsuspecting subject. I'm still at the hiding behind/peering round the corner stage when it comes to taking some of my more candid shots! However, being somewhere so busy and so anonymous can have it's advantages. There are a LOT of people out there taking pictures and it felt a lot more comfortable than taking street pics back home. For my trip I took my Fuji XE1 with it's 18-55mm kit lens. It's a fairly small, light DSLR and is easily concealed. Although I had charged my battery I didn't pack my charger or spare.....Rookie mistake! Never underestimate how many photos you are going to take and how quickly that battery can run down.

Primary Colours 

  Black and White v Colour 


When taking street shots I usually use black and white. I feel this is a lot more authentic and lets the image speak for it's self without it being too busy-especially when taking people. However sometimes the colours in the image you see are what makes the                                                        image.


Rooftop

Blocks of primary colours against a brilliant blue sky can be so striking. As can edges of buildings grouped together at odd angles. It's important to look up too - rooftops can show surprising features and letting quite a bit sky into your image can really let it breath too. 
Having only 48 hours in London was a bit of a challenge so we hopped on the tour bus so we could see as much as possible. This proved a challenge in itself as we were constantly moving and had to make the most of traffic light stops. It's not really my style to take traditional 'tourist' shots but the top deck of the bus gave quite a unique angle. It also allowed me to grab a few shots of unsuspecting subjects!

Which Way Now?
                 
Angles 


Although I had taken well over 200 images before the battery packed in, I wasn't overly happy with what I had in the camera. However when it came to editing there was a lot more in the pictures than I first thought. A lot of the time it was just one part of the whole image that really made the picture-nothing that a simple crop can't fix-especially in a street scene where only one or two of the subjects make the image, or like in the picture 'Rooftop' above where focusing on one corner of a whole image and cropping it at an angle can help get across what I was seeing in my head.


Happy Shopper
                                                                   Titles

Suits
Giving your picture a title seems like such an obvious thing to do but I think when it comes to street photography it can help to explain the vision you had for your subject and can also add humour.


The title also gives your work an identity and it is important that you choose wisely-you have put so much effort into your pictures and the title should both relate to your image and give the viewer a greater understanding of it. Sometimes your image can be obvious but at other times a title can reveal a hiding meaning behind the picture. 

At The Bar 
Lunchtime

All in all the London trip taught me that I probably have more guts than I thought when it comes to street photography. The more and more you take your camera out in front of people the more the desire to get that picture takes over the fear of what the subject may say. Obviously there are some ethics involved here and when it comes to taking a full on portrait of someone then it is only manners to ask permission, However, candid street shots that tell a story I think are better left that way and while happily snapping groups of shoppers in Camden Market I found them apologising for getting in the way of my photo when little did they know they were the subject.
Back home I will be trying to put these skills into practice...wish me luck!!

And always remember to pack your charger!

Tuesday 3 March 2015

A Walk Round My Town


THE BIGGER PICTURE


March 3rd 2015-A Walk Round My Town


One Woman And Her Dog 

So here goes-my first blog post!


I am a little nervous I must say, but nothing ventured nothing gained, and I wanted to start my own little blog to share my adventures in photography-the good,the bad,the encouraging and the extremely frustrating!

As someone who is quite new to photography there is so much to learn, a LOT of information to take on board and it seems that everyone else is the expert. There are endless tutorials to watch, workshops to sign up for and pieces of kit to buy. However in the last year or so I've learned that you often know a lot more than you think already. Don't be put off with technical jargon or worry about what you don't understand. You just don't understand it yet....
The most important thing is to get out there and start taking pictures.

I wanted to create a blog that was easy going and took away some of the bumf. I hope you enjoy it!


                                                                              Getting Out There


St Michaels Church, Inveresk
Last week I had a walk around my home town of Musselburgh in East Lothian. Sometimes it can be easy to forget what's on your door step-but this can be the best place to start. An area that you know and is easy to navigate can produce great opportunities. Sometimes it may be an object or building you pass everyday, but the light may be catching it in a way that's a little different which makes you want to take a photo. Although I have walked past this church many times, I have never taken a picture of it, or the large stone cross outside which seems a little
 crazy to me now.


Cross outside St Michaels 
For this walkabout I used black and white which I tend to do if I'm out on the street as there could be an opportunity of an impromptu shot like the one at the top of the page. 
I personally prefer shots like this in black and white but it is of course personal choice. I am still quite a scaredy when it comes to street portraits and people but this woman and her dog came along at the just the right time.

Railings

Down from the church there is a walkway where I stopped for a few minutes to take these railings. One thing that I've managed to get over in the last few months is the reactions of other people to what I may be photographing.(I've been known to crawl around on a pavement to try and capture reflections in puddles...all will be revealed later!)I had a couple of passers by wondering why on earth I would be taking this picture but I loved the line that the railings made and the way the light was catching the different segments on their tops. 

Sometimes there is beauty in the most mundane of things...  

I am off to London for a few days at the end of this week so am hoping to make the most of any opportunities for some good street shots there. I think I will feel a lot more invisible to other people there so I will hopefully feel more confident to get out my camera!

Until next time.....